If you want to start streaming on twitch, you do not need a studio, a sponsor or a big budget. You need a computer or console, a free Twitch account and a few hours to set things up properly.
This guide walks through the whole setup in order: account security, software, hardware, channel settings and your first test stream. Each step is simple on its own, and doing them in order prevents most beginner mistakes.
By the end, you will know what Twitch expects from new streamers, what the Affiliate and Partner programmes require, and how to run a first broadcast that looks and sounds deliberate rather than accidental.
What You Need Before You Go Live
A PC or laptop that can run your game and encoding software at the same time is the core requirement. Console players can stream directly from a PlayStation or Xbox, though a PC gives more control later.
You also need a stable internet connection with enough upload speed for your chosen quality. A wired Ethernet connection is far more reliable than Wi-Fi, because a dropped connection ends the stream for every viewer watching.
Twitch publishes its own setup advice in Twitch’s official getting-started guidance, and it is worth reading before you install anything else.
Step 1: Create and Secure Your Account
Sign up with a username you are happy to keep, because it becomes your channel address and the name viewers remember. Pick something short, pronounceable and free of numbers you will regret in a year.
Turn on two-factor authentication straight away. Twitch requires it before you can access your stream key, and it protects the channel from account takeovers, which target small streamers as often as large ones.
Keep your stream key private and never show it on screen. Anyone who has it can broadcast to your channel, and resetting it mid-stream is a disruption you can easily avoid.
Step 2: Choose Your Streaming Software
Most beginners use OBS Studio, which is free, open source and runs on Windows, Mac and Linux. It handles scenes, sources, overlays and recording, and nearly every tutorial online assumes you are using it.
Work through the OBS Studio quickstart guide once, and let its auto-configuration wizard pick sensible starting settings for your machine and connection.
Alternatives such as Streamlabs build on the same technology with extra templates and alerts. Whichever you choose, learn one programme properly instead of switching every week, because consistency makes troubleshooting much faster.
Step 3: Set Up Hardware That Viewers Can Hear
Audio matters more than video. Viewers forgive a soft picture, but they leave quickly when a microphone crackles, echoes or drowns under game sound, so test your levels with a recording before every new setup change.
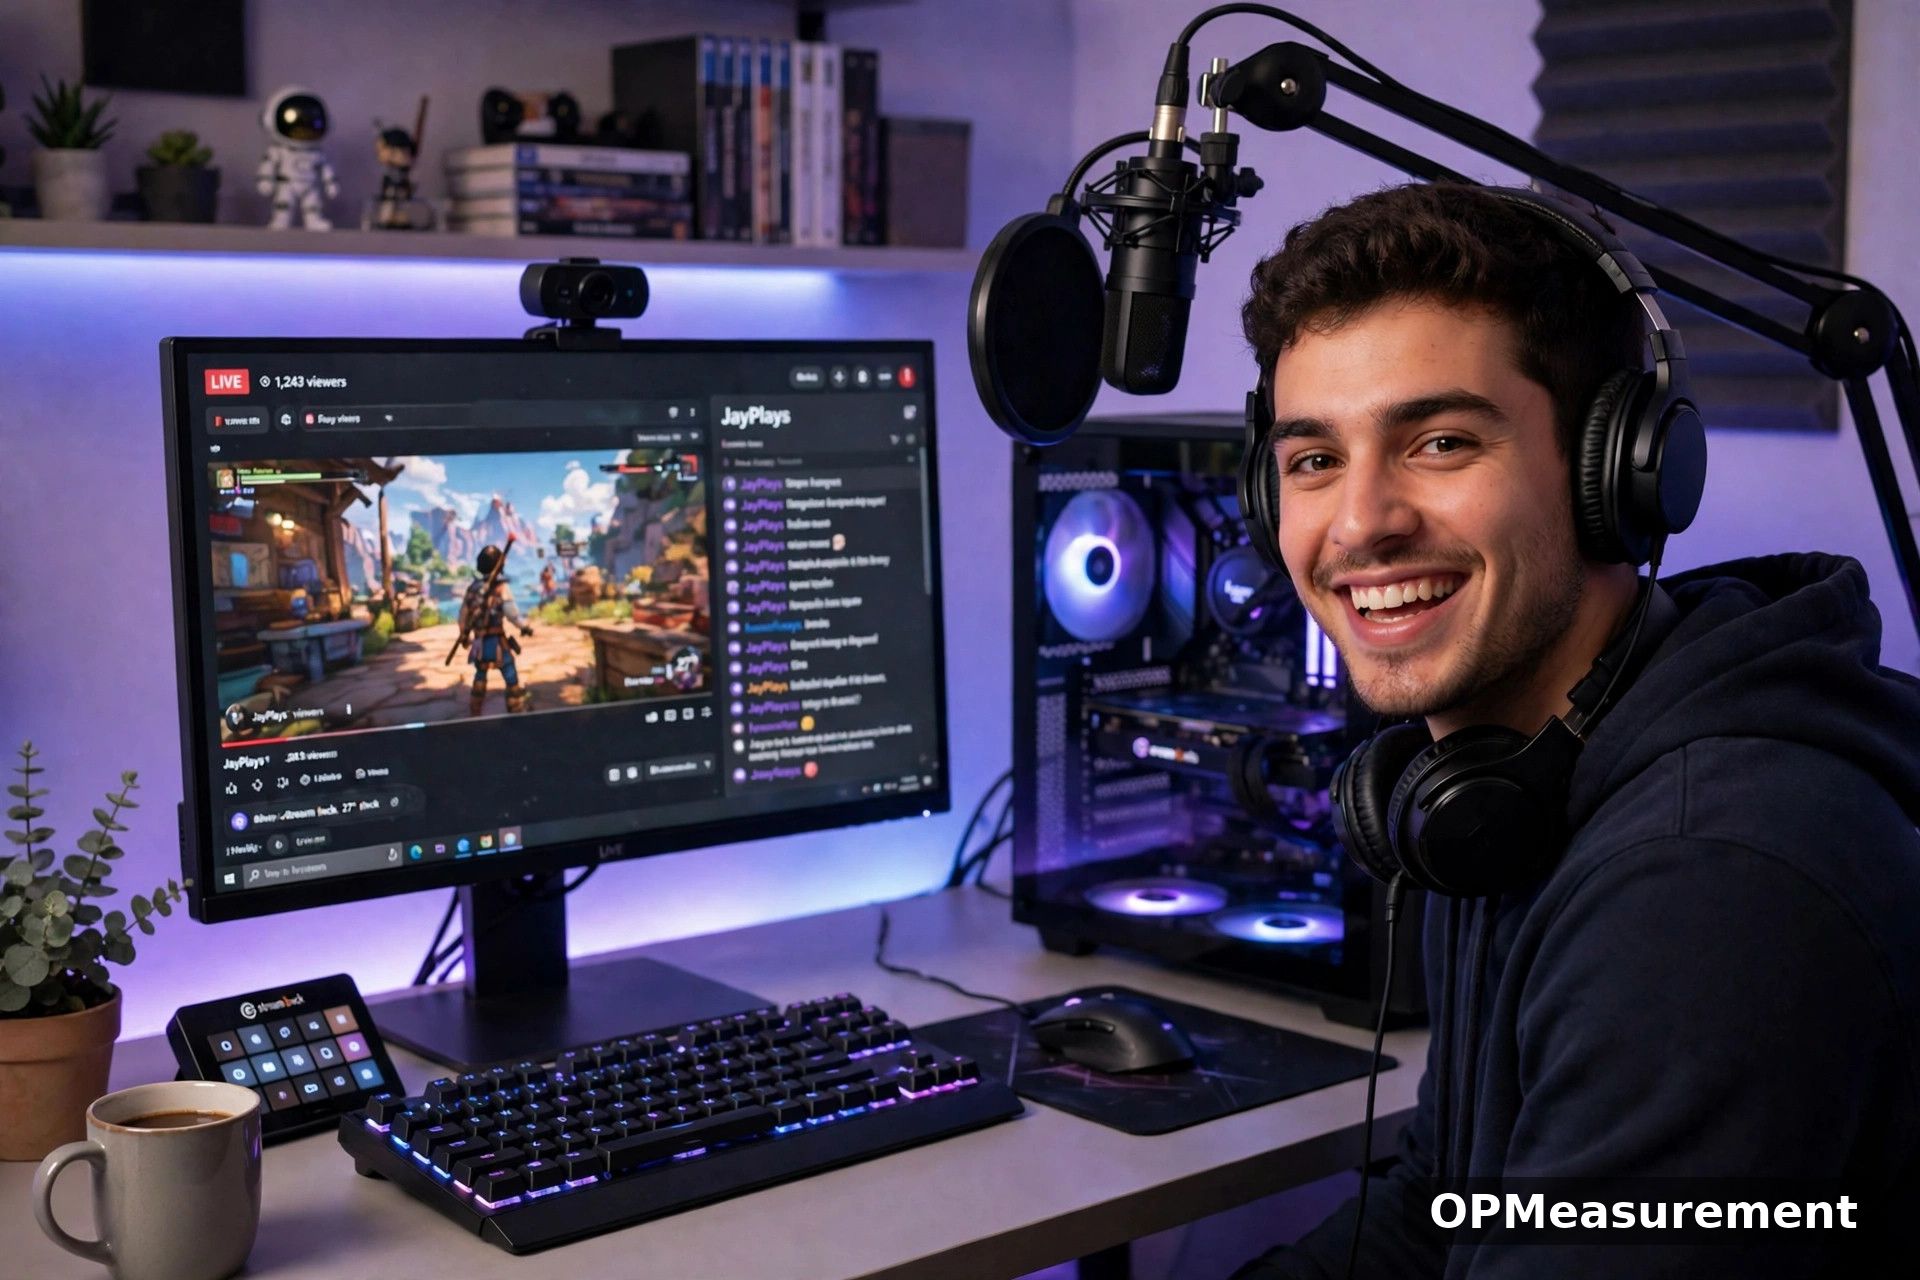
A decent USB microphone placed close to your mouth beats an expensive camera paired with a distant headset mic. Add headphones so game audio never leaks back into the microphone and creates an echo.
For video, a basic 1080p webcam is enough to start. Good lighting — even a desk lamp bounced off a wall — improves a cheap camera more than an expensive camera fixes a dark room.
Step 4: Configure Your Channel and Stream Settings
Fill in your channel panels, profile picture and bio before you go live. New viewers check who you are within seconds, and an empty page gives them no reason to stay or follow.
Choose a category, title and tags that describe the actual broadcast. Accurate tags help the right viewers find you, while misleading titles create clicks that leave within a minute and teach you nothing useful.
Set your resolution and bitrate to match your upload speed rather than copying a famous streamer’s settings. Twitch’s own guidance treats roughly 6,000 kbps as the practical ceiling for most streams, and a stable 720p broadcast beats a buffering 1080p one.
Step 5: Run a Test Stream First
Use Twitch’s bandwidth test mode or a short unlisted practice broadcast to check stability before announcing anything. Watch the recording back and listen for audio balance, alert volume and game loudness.
Fix one problem at a time and re-test. Beginners often change five settings at once, which makes it impossible to know which change fixed the fault — or caused the next one.
Step 6: Go Live and Keep a Simple Schedule
Pick two or three regular slots a week that fit your real life, and post them on your channel schedule. Reliability builds an audience faster than marathon sessions you cannot repeat the following week.
During the stream, talk through what you are doing even when chat is quiet. Most viewers arrive silently, and a streamer narrating the game gives them something to join; silence gives them nothing.
Afterwards, review the video on demand for pacing and sound. Small, steady improvements — clearer audio, better titles, a consistent start time — compound into growth far more reliably than one viral moment.
Growing From Your First Streams
Short clips from your broadcasts travel further than full recordings. Post highlights to short-video platforms with a link back to your channel, and spend time in other streams in your category to become a familiar name.
Collaborate with streamers at a similar size. Shared streams, community game nights and honest feedback loops help everyone involved, and viewers can tell the difference between genuine community and self-promotion quickly.
Twitch Affiliate and Partner Requirements
Affiliate is the first monetisation tier, and Twitch lists the current targets on the Twitch Affiliate programme page. At the time of writing, they are 50 followers, 8 hours streamed, 7 different stream days and an average of 3 viewers within a 30-day window.
Partner is the higher tier, aimed at established streamers. Its Path to Partner achievement has asked for 25 hours streamed, streams on 12 different days and an average of 75 viewers across a 30-day period, followed by a manual review.
Both sets of numbers can change, and meeting them starts an application rather than guaranteeing acceptance. Treat them as milestones that reward consistency, not as a promise of income.
Frequently Asked Questions
Do I need a powerful PC to start streaming on Twitch?
No. A modest PC that runs your game smoothly can encode a 720p stream, and console players can broadcast directly. Upgrade only when a specific bottleneck — dropped frames or poor audio — actually appears.
How much does it cost to start streaming on Twitch?
Creating an account and using OBS Studio costs nothing. Many streamers start with a headset they already own, then add a microphone, lighting and a camera gradually as the channel grows.
How long should my first streams be?
Two to three hours is a sensible starting length. It is long enough for viewers to discover you and short enough to stay energetic, and it fits the consistency that the Affiliate targets reward.
Conclusion
Starting well on Twitch is mostly preparation: a secure account, tested software, clear audio and a schedule you can keep. None of it requires expensive gear or an existing audience.
Set everything up once, test it honestly, then go live and improve in small steps. The streamers who grow are usually the ones who simply keep showing up.