Decorative timber is one of the few exterior upgrades that reads as architecture rather than decoration. A pair of properly proportioned brackets under a gable overhang, a run of corbels beneath a bay, or an exposed brace at a porch beam changes the way a façade is understood from the street. It is also one of the few upgrades where a half-inch error is visible forever. Unlike siding or trim, timber accents are heavy, made-to-order, and almost always installed in pairs or rhythmic runs, which means a measurement mistake multiplies across the elevation.
This is a planning problem before it is a carpentry problem. Below is how experienced builders and designers approach exterior timber detailing: how to take the measurements that actually matter, how species choice changes what you can get away with, and how to keep these pieces from colliding with the other systems competing for roof and wall space.
Start With the Elevation, Not the Bracket
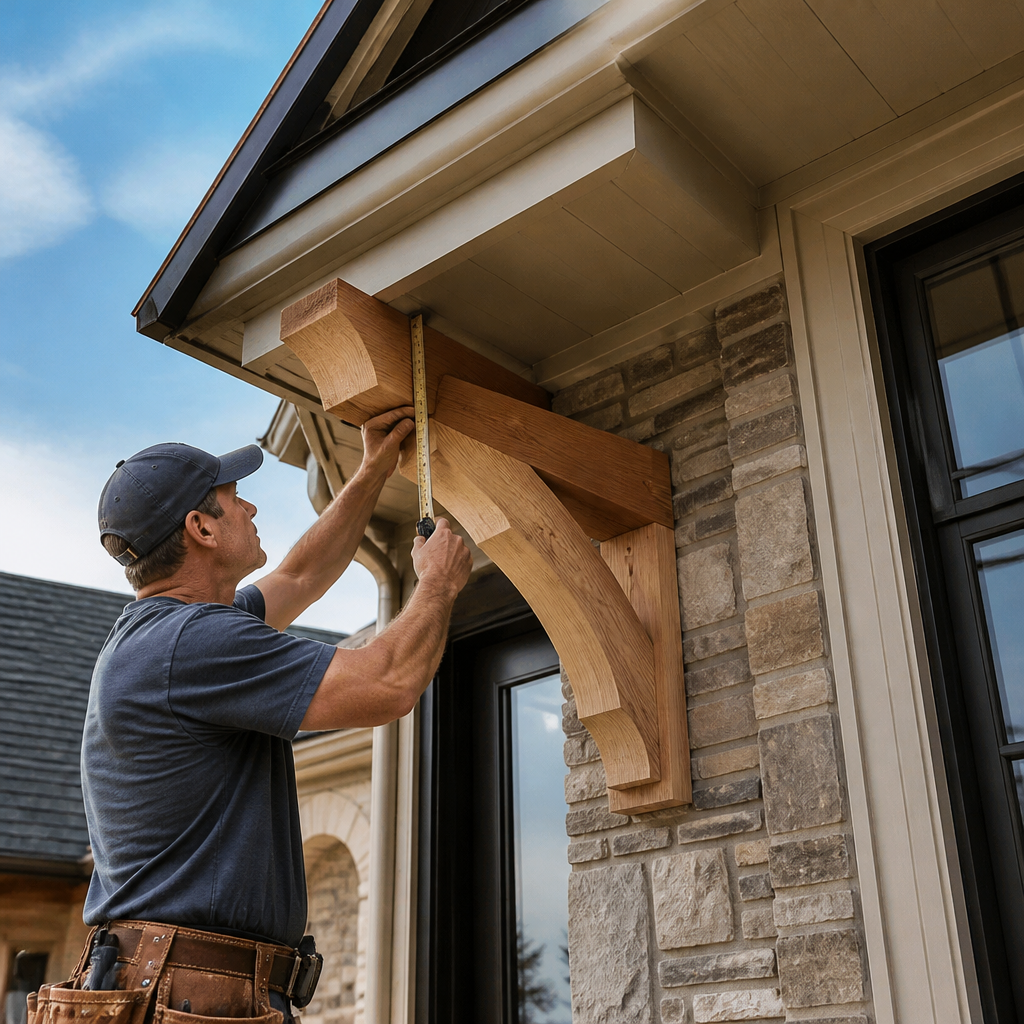
The most common failure in exterior timber work is ordering a size that looks right in a catalogue photo and wrong on the building. Scale is governed by what the piece appears to support. A bracket under a 24-inch gable overhang needs a projection that covers a meaningful portion of that overhang — typically two-thirds or more — or it reads as a stuck-on ornament. A corbel under a window ledge can be smaller and more delicate because the visual load it implies is lighter.
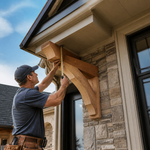
Before specifying anything, record five numbers for each location: the overhang projection from wall face to fascia, the height from the mounting point to the underside of the soffit or beam, the distance to the nearest window or door casing, the thickness of the cladding assembly the piece will sit on, and the on-center spacing if the piece repeats. That last number drives the design more than people expect. Brackets spaced evenly along a long wall want to land on framing, not between it, and the spacing should divide the wall into an even visual rhythm rather than ending with an awkward partial bay at one corner.
Check for Plumb, Level and Reality
Older houses are rarely square. Measure the gable run at both ends; measure porch beam heights at each post. If the two sides of a gable differ by an inch, you decide in advance whether to split the difference, scribe the back of each piece, or accept a slightly asymmetric reveal. Deciding that on the ladder, with a 60-pound timber in a strap, is how projects go sideways.
Species Choice Is a Maintenance Decision
Exterior timber accents live in the worst microclimate on the house: full sun, wind-driven rain, and splashback. Species selection is less about colour than about how the piece behaves over the next few decades.
- Douglas Fir — strong, tight-grained, takes a crisp chamfer or ogee profile and holds a stain evenly. Best where it is protected by a generous overhang.
- Western Red Cedar — light, dimensionally stable and naturally durable, which makes it a workhorse for brackets and braces at exposed gables and pergola ends.
- Bald Cypress — a traditional southern choice with good weather resistance; a sensible pick for humid climates and coastal exposure.
- White Oak — dense and tough, with a closed grain that handles moisture well. Heavier, so mounting hardware needs to be sized accordingly.
- Teak — the premium option for exposed, high-salt or high-spray locations where almost nothing else stays stable.
Whatever the species, expect movement. Timber accents cut from thick stock will check along the face as they dry and equalize — fine surface cracks that are cosmetic, not structural. Clients should be told this before installation, not after. Specifying kiln-dried or air-dried stock, and detailing the piece so water drains off rather than sits on it, reduces checking far more than any coating.
Where Timber Accents Collide With Everything Else
Rooflines are crowded. Gutters, downspouts, snow retention, vents, lighting, security cameras and solar arrays all want the same real estate. A bracket that projects 18 inches from the wall can interfere with a downspout run; a decorative brace at a porch beam can block a conduit path. On homes where photovoltaic panels are part of the plan, the roof layout and attachment points should be settled before the trim package is finalized — the same discipline that goes into site-specific solar planning and roof measurement applies to anything that gets permanently fastened to the exterior envelope.
Sequence matters too. Timber accents mounted over finished siding require blocking behind the cladding, which means coordination with the framing crew weeks earlier. Add the flashing detail: a small metal cap or sloped kerf at the top of each bracket keeps water from wicking into end grain, which is where exterior timber almost always fails first.
Sourcing Made-to-Order Pieces
Once the measurements are locked, the specification becomes straightforward: species, nominal dimensions, projection, drop, profile, surface texture, and whether the piece is solid or a box assembly. Built-to-order shops are better suited to this than stock inventory, because exterior conditions rarely match catalogue sizes. Workshops such as Tar River timber, based in Oxford, North Carolina, handcraft decorative and structural timber frame accents — braces, brackets, corbels, posts, solid and box beams, headers, shutters and mantels — in selected species for interior and exterior use, along with outdoor living structures like pergolas and pavilions and custom teak work. Where a piece is intended to carry load rather than express it, have an onsite engineer review the condition; decorative and load-bearing details look similar and are not interchangeable.
Finishing and the Long-Term Care Schedule
Finish all six faces before installation, including the back and the cut ends. End grain absorbs several times more moisture than face grain, and a sealed end is the single cheapest piece of insurance on an exterior timber. Penetrating oil finishes weather gracefully and are easy to refresh; film-forming coatings look sharper initially but peel where water collects, and peeling means sanding.
A realistic maintenance rhythm on sun-exposed elevations is an inspection each spring and a refresh coat every two to three years, stretching longer on shaded or deeply overhung sides. Inspection means looking for three things: standing water or debris on top surfaces, dark staining at fasteners, and soft spots at the bottom edge. Clear the debris, keep gutters flowing so water is not sheeting across the piece, and touch up before bare timber is grey all the way through.
Why Timber Keeps Earning Its Place
Exterior wood detailing is having a genuine revival, and not only on traditional houses. Contemporary practice has rediscovered wood as a primary expressive material, a shift documented in coverage of the rapid growth of cross-laminated timber and engineered wood construction across dozens of built projects. At the residential scale, the same instinct shows up in smaller moves: an honest bracket, a visible brace, a beam end that admits it is a beam end.
Get the measurements right, pick a species suited to the exposure, flash the top, seal the ends, and inspect once a year. Those five habits separate timber accents that look better in a decade from ones that need replacing.