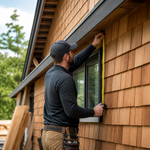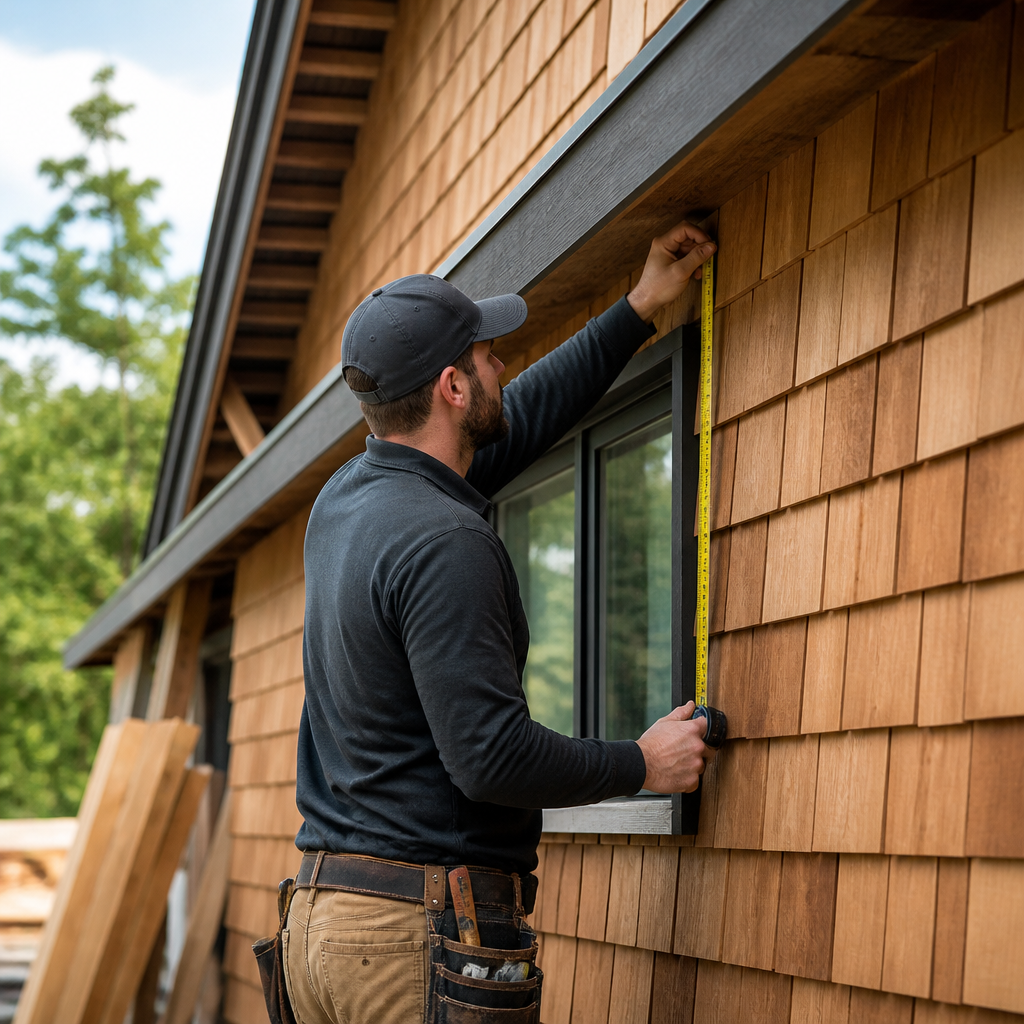
Cedar is one of the few exterior materials that rewards careful measurement twice over. Get the takeoff right and you order the correct coverage, cut waste down to a reasonable trim allowance, and keep courses landing where you planned them. Get it wrong and you are either sitting on bundles you cannot return or stopping work two courses from the ridge. For anyone planning a siding or roofing project that also involves rooftop equipment, dormers, or future solar panels, the measurement stage is where the money is saved or lost.
This is a practical look at how exterior measurement, material selection, and installation sequencing fit together when the material is cedar — shingles, shakes, pattern siding, or timbers — and why it pays to treat the takeoff as a design document rather than a shopping list.
Know what you are actually buying
Cedar is sold in several different formats, and each one changes how you calculate coverage. Shingles are sawn on both faces, uniform in thickness, and lay up with a crisp, flat shadow line. Shakes are split or re-sawn, thicker, and far more textured — they give a rustic roofline but consume more material per square because of their heavier butt and typically shorter exposure. Pattern siding is sold by linear footage of a given profile, so your takeoff has to account for the net face width after overlap, not the nominal width stamped on the board.
Species matters as much as format. Western red cedar is the workhorse for siding and roofing, dimensionally stable and naturally resistant to decay. White cedar and Atlantic white cedar have their own character and weathering behavior, which can matter if you are matching existing work on an older house. If you are curious about where cedar sits in the botanical pecking order and why it behaves the way it does, the explainer on whether cedar counts as a hardwood or a softwood is a useful primer before you start comparing options with a supplier.
Grade, exposure, and the coverage math
Coverage is a function of exposure. Reduce the exposure to get a tighter, deeper shadow and you increase the number of courses — and therefore material — across the same wall. Increase exposure and you stretch the material but change the look and the weather performance. Decide the exposure before you order, not after the scaffold goes up, because a half-inch difference across a two-story gable can shift your total by a noticeable margin.
A workable rule of thumb for planning: compute net square footage of each wall plane, subtract openings larger than roughly ten square feet, then add a waste allowance. Simple rectangular walls can run lean; hipped roofs, turrets, dormers, and anything with repeated valleys will push waste higher because of the cutting involved. Keep a small reserve of material on site for repairs — matching weathered cedar years later is never a perfect exercise.
Why solar planning belongs in the same conversation
Roof-mounted equipment and cedar have a complicated relationship. Penetrations through a cedar roof need to be flashed thoughtfully, and racking that sits tight to the deck restricts the airflow cedar relies on to dry. The practical answer is sequencing: if panels are anywhere in the plan, you want the array layout, setbacks, and attachment points mapped before the roofing is laid, not retrofitted into a finished field of shakes.
That means the same roof plane measurements that drive your material order should also drive the array design. Homeowners working through solar planning for a Frederick County property will recognize the overlap immediately — pitch, azimuth, obstruction mapping, and usable plane area are exactly the figures a roofing takeoff produces. Doing both analyses from one accurate measurement set avoids the situation where the roof is finished beautifully and the array then has to be squeezed into a compromised location.
Details worth deciding early
- Where penetrations land relative to course lines, so flashing is integrated rather than patched.
- Whether ventilation strategy on a cedar roof allows drying beneath any mounted hardware.
- Which planes stay clear for panels and which can carry pure cedar for curb appeal.
- How gutter, fascia, and trim details interact with conduit runs.
Sourcing: where accuracy meets availability
A precise takeoff is only half the job. The other half is talking to someone who stocks the species, profile, and thickness you specified rather than talking you into whatever is easiest to ship. Suppliers like Liberty Cedar focus on cedar and specialty lumber for residential and commercial exteriors — shingles and shakes, Western red cedar lumber, pattern siding, timbers, white cedar and Atlantic white cedar, plus mouldings and custom millwork — which is the kind of catalog depth that matters when a project needs a specific profile run to match existing trim or a timber size that a general yard would not carry. Bring your measured plan to that conversation with exposures, course counts, and trim lengths already worked out, and the material discussion becomes concrete instead of approximate.
Installation habits that protect the investment
Cedar lasts when it can dry. Most premature failures come down to moisture trapped against the back of the board or shingle. A few habits make the difference:
- Acclimate the material. Let cedar sit on site, stacked with air between courses, so its moisture content moves toward local conditions before it is fastened down.
- Prefinish all six sides. If siding is being stained or painted, coat the backs and the cut ends. Field cuts should get a brush of finish before they go up.
- Create a drainage plane. Rainscreen battens or a mesh behind siding give water a path out and air a path through. On roofs, that means proper underlayment and ventilation detailing.
- Use the right fasteners. Stainless or hot-dipped galvanized only. Cedar’s natural extractives will stain and corrode the wrong metal, and the streaks are permanent.
- Keep the bottom edge clear. Maintain generous clearance above grade, roofs, and hard surfaces so splash-back and snow do not sit against the wood.
Budgeting time, not just material
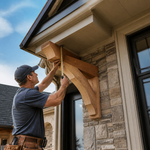
Cedar installs slower than most sheet or panel claddings, especially individual shingles on a wall with multiple openings. Factor that into the schedule before committing to a finish date, and factor in weather windows if you are prefinishing on site. Timbers add another variable: brackets, exposed rafter tails, and entry structures often need layout verification against the actual as-built framing, because an inch of drift in a post location is visible from the street.
The thread running through all of it is the same one that governs solar design: a measured, documented exterior is cheaper than a guessed one. Produce one reliable set of plane areas, pitches, and elevations, and every downstream decision — species, exposure, waste allowance, array layout, flashing details — gets easier and more defensible. Cedar will do its part for decades. The measuring tape decides how well it starts.